


Chain link fencing, Estate Privacy Vinyl, Iron Fencing, Popular Vinyl Fencing, Tools, Vinyl Fencing
DIY with Fencing Materials: Tips for Installing Your Own Fence
Mar
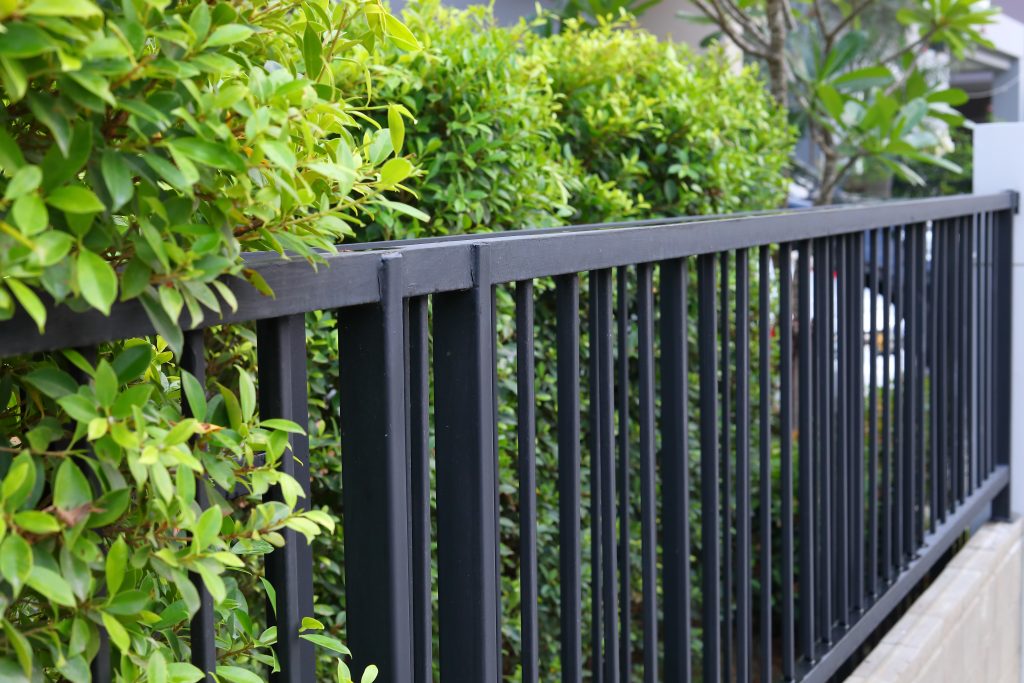
Iron fencing is a popular choice for homeowners who want to enhance the security and beauty of their property. While hiring a professional fence installer may be the most convenient option, many homeowners prefer to install their own iron fence to save money and gain the satisfaction of completing a DIY project. However, installing an iron fence is not a simple task, and requires careful planning and execution to ensure a successful outcome. In this article, we will provide some tips for installing your own iron fence.
- Determine the location and size of the fence Before purchasing any materials or starting any work, it is important to determine the location and size of the fence. Measure the perimeter of the area where you want to install the fence and mark it with stakes or spray paint. This will help you determine how much material you will need and where to place the posts.
- Choose the right materials Iron fencing comes in a variety of styles and sizes. Choose the style that best suits your property and meets any local zoning or HOA requirements. You’ll also need to choose the appropriate height for your fence, based on your needs for privacy and security.
- Prepare the site Before installing the fence, clear the site of any debris or vegetation that may interfere with the installation process. Ensure that the site is level and free of any obstacles that could impede the installation of the fence posts.
- Install the posts The posts are the backbone of the fence and must be installed correctly for the fence to be stable and secure. Dig the holes for the posts to the appropriate depth and width, based on the size and weight of the fence panels. Place the posts in the holes, and ensure they are level and plumb before filling the holes with concrete.
- Install the panels Once the posts are set, install the panels by attaching them to the posts with screws or brackets. Follow the manufacturer’s instructions carefully to ensure that the panels are properly secured and aligned.
- Finish the fence After the panels are installed, add any finishing touches to the fence, such as post caps or decorative elements. Take care to protect the fence from rust and corrosion by painting or sealing it as needed.
In conclusion, installing your own iron fence can be a rewarding DIY project, but it requires careful planning and execution. By following these tips, you can ensure that your iron fence is installed properly, safely, and to your satisfaction.
Types of Iron Fencing: Installation Tips for Different Styles of Iron Fences
We offer a range of iron fencing options to suit various preferences and architectural styles. Each type of iron fence has its unique characteristics and installation considerations. Let’s explore the different types of iron fencing we offer and provide installation tips for each one:
Curved Top Iron Fence Panels:
Our curved top iron fence panels add a touch of elegance to any property. When installing curved top iron fence panels, it’s essential to ensure that the posts are accurately spaced to accommodate the curve. Start by measuring and marking the desired curve on the ground. Then, position the posts accordingly, ensuring they are level and plumb. To achieve a seamless curve, consider using flexible fence panels designed specifically for curved installations. Secure the panels to the posts using appropriate brackets or screws, following the manufacturer’s instructions.
Kent Iron Fence
The Kent iron fence combines durability with a classic design, offering both security and aesthetic appeal. During installation, begin by determining the fence line and marking the locations for the posts. Dig holes to the appropriate depth and width, ensuring the posts are securely anchored. It’s crucial to maintain consistent spacing between the posts for a uniform appearance. Attach the Kent iron fence panels to the posts, ensuring they are level and properly aligned. Use brackets or screws as recommended by the manufacturer to secure the panels in place.
Lafayette Iron Fence
The Lafayette iron fence exudes a sense of sophistication and grandeur, making it an excellent choice for enhancing the beauty of your property. When installing Lafayette iron fence panels, it’s important to pay attention to the height and spacing to achieve a balanced and visually appealing result. Begin by marking the fence line and determining the position of the posts. Dig holes at the appropriate intervals and depths, ensuring they are level and plumb. Secure the Lafayette iron fence panels to the posts using the recommended fasteners, ensuring they are evenly spaced and aligned.
Monroe Iron Fence
The Monroe iron fence offers a blend of strength and elegance, providing both security and charm to your property. During the installation of Monroe iron fence panels, it’s crucial to account for any changes in terrain or elevation. Start by marking the fence line and placing the posts accordingly. Adjust the depth of the holes based on the slope of the ground, ensuring the posts remain level and sturdy. Attach the Monroe iron fence panels to the posts securely, making sure they are aligned and follow the natural contour of the land. It may be necessary to use different-sized panels or adjust the spacing to accommodate the terrain.